
A lawn irrigation system is one of the best upgrades you can make to a Kansas property a green lawn through our hot, dry summers, no more dragging hoses, and lower water use when it’s done right. So it’s natural to wonder whether you can install one yourself and pocket the labor savings. The honest answer: yes, a determined and handy homeowner can install a simple system but it’s harder than most YouTube videos make it look, and a few specific steps (the design, the backflow, the permit) are where DIY jobs go wrong. This guide walks the real installation process start to finish, tells you honestly how hard each part is, and lays out a clear DIY-versus-pro comparison so you can decide with your eyes open. If you’d rather skip straight to done-right, our professional irrigation installation and service covers drip, sprinkler, and smart Wi-Fi systems across Johnson County.
THE SHORT ANSWER
Can you DIY it? Yes for a small, simple yard if you’re handy but the design and the backflow tap are the hard parts, and a permit is usually required. How hard is it? Moderate-to-difficult: the digging is heavy, and getting zones and head spacing right so coverage is even is the real skill. The catch: the backflow connection to your water line generally must be done by a licensed plumber by code. Bottom line: DIY can save on labor; mistakes cost more than the labor saved.
How a lawn irrigation system works (the quick version)
Before the steps, a bit of vocabulary makes everything clearer. An in-ground system taps into your home’s water supply, passes through a backflow preventer (which keeps irrigation water from flowing back into your drinking water), then splits into zones. A zone is a group of sprinkler heads controlled by one valve; your yard is divided into zones because your water pressure can only run so many heads at once, and because different areas (sunny lawn, shady side yard, flower beds) need different amounts of water. A controller basic timer or smart Wi-Fi tells each zone’s valve when and how long to run. Underground pipe connects it all, and the heads pop up to spray when their zone runs. Get the zones and pressure right, and coverage is even and efficient; get them wrong, and you have dry spots, wasted water, or heads that barely reach.
How to install a lawn irrigation system, step by step
Here’s the full process, with an honest difficulty note on each part so you know what you’re taking on.
1. Design the system and map your zones
This is the step that makes or breaks the whole job and the one DIYers most underestimate. You measure your property, test your home’s water pressure and flow rate (gallons per minute), then calculate how many heads each zone can support and how to space them so their spray patterns overlap for even coverage. Too many heads on a zone and pressure drops so nothing sprays properly; poor spacing and you get dry rings and brown spots. Difficulty: hard it’s a hydraulic calculation, not a guess, and it’s where professional design earns its value.
2. Get a permit and call 811
Most Kansas jurisdictions require a permit for a new irrigation system, and you’re legally required to have underground utilities located before digging call 811 and wait for the marks. Skipping this can mean fines, a torn-out install, or hitting a gas or electric line. Difficulty: easy, but non-negotiable.
3. Connect to the water supply and install the backflow preventer
The system taps into your main water line, and a backflow preventer is installed to protect your drinking water. Here’s the catch that surprises most DIYers: this connection generally must be made by a licensed plumber by code. The backflow device is the piece standing between lawn chemicals in your irrigation lines and your kitchen tap, so it’s tightly regulated. Even committed DIYers usually hire this part out. Difficulty: professional/plumber required. It’s worth having the backflow device installed and tested correctly from the start.
4. Dig the trenches
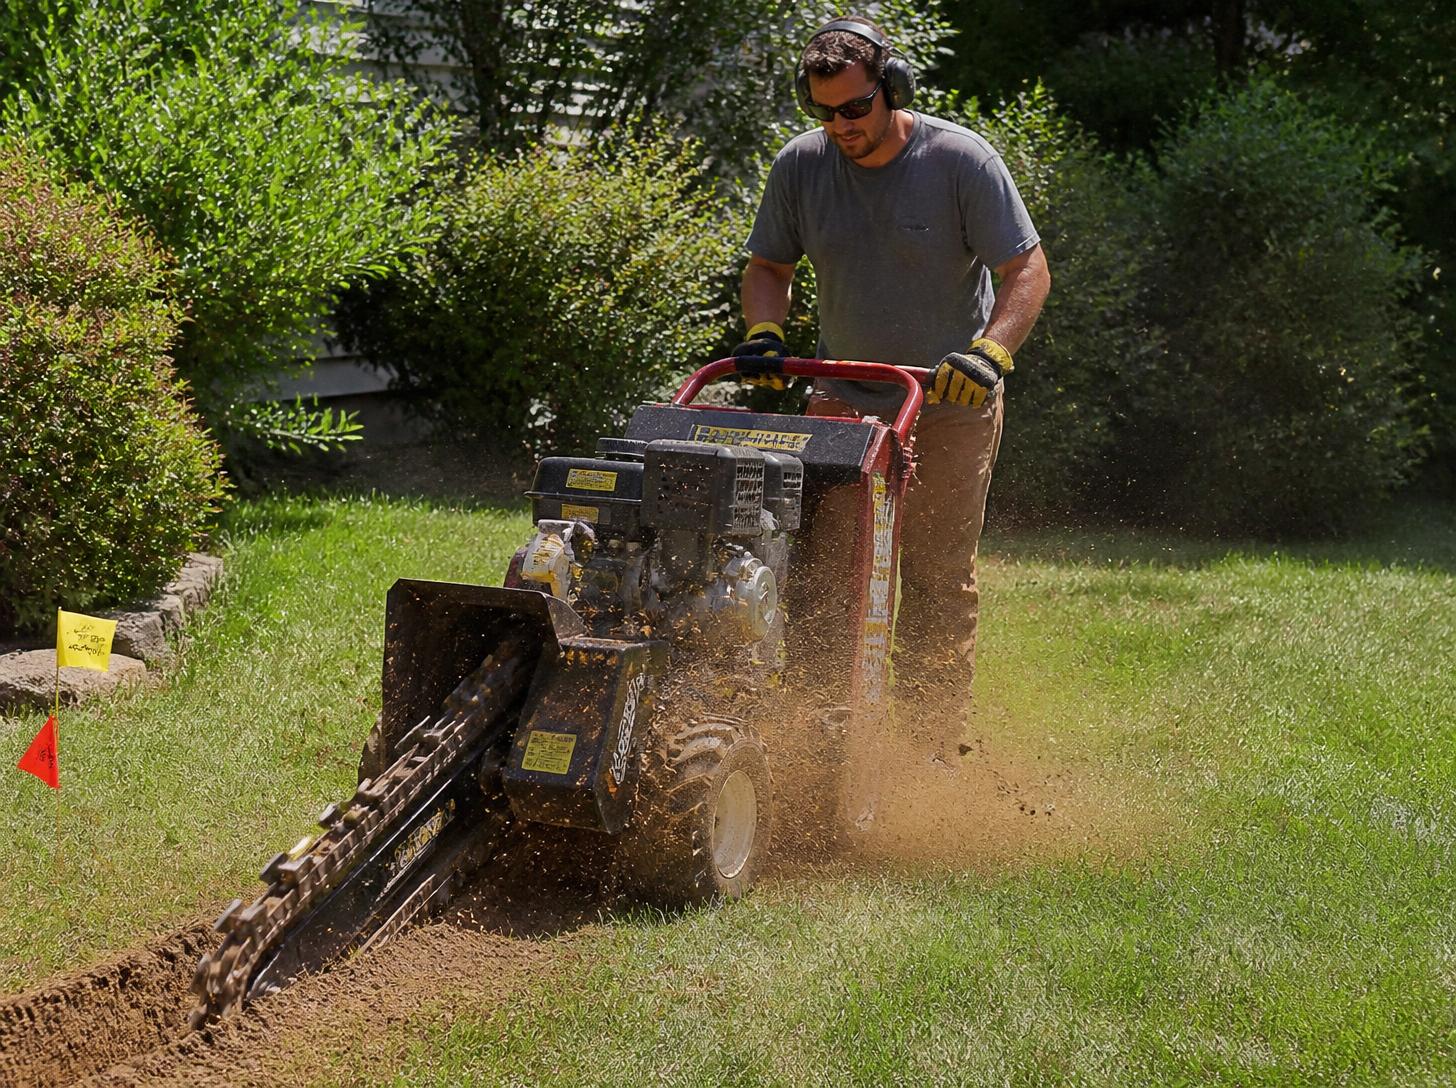
Trenches (typically 8–12 inches deep) are dug along your zone layout for the pipe. Most people rent a trencher and in Johnson County’s heavy clay, even a machine is slow, hot work. This is the physically brutal part of the job. Difficulty: moderate but exhausting, and clay makes it worse.
5. Lay pipe, valves, and the manifold
Poly or PVC pipe is laid in the trenches, the valve manifold (the cluster of zone valves) is assembled and connected, and the pipe is run out to each zone. Connections must be solvent-welded or clamped correctly, because a leak underground is a headache to find and fix later. Difficulty: moderate doable but detail-sensitive.
6. Install and adjust the sprinkler heads
Heads are attached at each location, set to the right height (flush with the ground), and adjusted for spray pattern and radius so they cover their area and overlap with neighbors without spraying the house, driveway, or street. Difficulty: moderate, and fiddly to get even.
7. Wire and program the controller
The controller is mounted (often in a garage), wired to each zone valve, and programmed with run times. A smart Wi-Fi controller adds weather-based scheduling that can cut water use significantly. Difficulty: easy-to-moderate.
8. Pressure-test, backfill, and fine-tune
Before covering anything, you run each zone, check for leaks, confirm coverage, and adjust heads. Then backfill the trenches, restore the turf, and run a final tune. Skipping the test means digging back up to fix what you buried. Difficulty: moderate and the step people rush at their peril.
Rather have it designed and installed right the first time? Get a free irrigation quote or call (913) 829-4949 we handle the design, the permit, and the backflow.
How hard is it to install a sprinkler system?
Honestly? Moderately hard and the difficulty isn’t evenly spread. Here’s how the pieces break down:
Step | Difficulty | The honest catch |
|---|---|---|
System / zone design | Hard | Hydraulic math; getting it wrong means dry spots and reruns. |
Permit + 811 locate | Easy | Required by law; just don’t skip it. |
Water tap + backflow | Pro required | Licensed plumber by code not a DIY step. |
Trenching | Moderate + brutal | Heavy work; clay soil makes it slow. |
Pipe, valves, heads | Moderate | Doable but leak- and coverage-sensitive. |
Controller wiring | Easy–moderate | The most DIY-friendly part. |
Test & tune | Moderate | Rushing it means digging back up. |
The pattern: the physical labor is hard but learnable; the parts that actually gate DIY are the design (skill) and the backflow (code). A small, flat, simple yard is within reach for a handy homeowner willing to lose a few weekends. A larger property, tricky pressure, or lots of zones tips quickly toward professional territory.
Can I install my own irrigation system? (An honest answer)
Yes with real caveats. If you have a small, relatively flat yard, you’re comfortable with tools and plumbing basics, and you’re willing to hire out the backflow tap, DIY is a legitimate way to save on labor (roughly $50 to $100 per zone). Plenty of homeowners do it successfully.
But go in clear-eyed about where DIY installs go wrong:
- Coverage. Poor zone design and head spacing is the #1 DIY failure you end up with brown rings and dry corners that no amount of extra watering fixes, because the water isn’t reaching them.
- Wasted water. An inefficient design overwaters some areas and underwaters others, which shows up on every future water bill the opposite of the savings a good system delivers.
- The backflow and permit. Skipping or botching these isn’t just risky, it can be illegal and can fail inspection or a future home sale.
- Buried mistakes. A leak or a bad connection you covered up means excavating to find and fix it often costing more than professional install would have.
The realistic rule of thumb: DIY for a small, simple system if you enjoy the project and hire out the backflow; go professional for anything larger, sloped, or pressure-limited, where the design is what makes or breaks it.
DIY vs. professional: the full comparison
Factor | DIY | Professional |
|---|---|---|
Cost | Save ~$50–$100/zone labor; material cost stays | Higher, but designed and warrantied |
Design | On you hydraulic math, easy to get wrong | Engineered zones matched to your pressure/layout |
Backflow | Still needs a licensed plumber by code | Handled and code-compliant |
Permit | Your responsibility | Pulled and inspected for you |
Time | Multiple weekends of heavy work | Typically 1–3 days, done |
Coverage result | Dry spots common without good design | Even coverage, tuned on commissioning |
If it fails | Dig up and redo on your dime | Backed by the installer’s warranty |
The most valuable thing a professional brings isn’t the shovel work it’s the design and the code compliance. A crew that installs systems every week gets the zones, pressure, and spacing right the first time, handles the plumber and permit, and stands behind the result. For many Johnson County homeowners, that’s what makes professional installation pay for itself in water not wasted and dry spots avoided. If budget is the deciding factor, it helps to know what a new sprinkler system costs before you choose a path.
What about DIY drip irrigation?
One honest exception worth calling out: drip irrigation for garden beds and borders is far more DIY-friendly than a full in-ground lawn system. Drip kits run on low pressure, connect to an outdoor spigot (no main-line tap or plumber), and use simple push-together tubing and emitters. If your goal is watering flower beds, vegetable gardens, or shrubs not a whole lawn a drip system is a genuinely approachable weekend project. It’s the full lawn sprinkler system, with its pressurized main-line tap, backflow, and multi-zone design, that pushes most people toward a pro.
Don’t forget the ongoing part
However you install it, a Kansas irrigation system isn’t set-and-forget. Two seasonal jobs matter: a fall winterization (blowing the lines out with compressed air before the first hard freeze, so trapped water doesn’t freeze and crack the system) and a proper spring startup each year (slowly re-pressurizing, checking every zone, and catching winter damage). These are worth building into your plan from day one skipping winterization in particular can crack even a perfectly installed system. Note that in Olathe and most of the WaterOne area, annual backflow testing is currently required for commercial properties, not residential though keeping the device in good working order is smart either way.
Want the whole thing handled design, install, and seasonal care? Get a free irrigation quote or call (913) 829-4949.
Why Johnson County homeowners choose MW Lawn & Landscape
Irrigation is what we do, and after 25+ years in Johnson County we install systems that are designed right and built to last:
- We design for your yard. Zones matched to your actual water pressure and layout, so coverage is even and you’re not watering the driveway the part DIY most often gets wrong.
- We handle the backflow and permit. The licensed-plumber tap, the code-compliant backflow device, and the permit all handled, so it passes inspection and protects your water.
- Drip, sprinkler, or smart Wi-Fi. We install the right system for the job, including Rachio-style smart controllers that cut water use with weather-based scheduling.
- We’re here all year. Install, a proper spring startup each year, winterization, and repairs one local team, every season, not a one-and-done installer.
- Family-owned, licensed, and insured, with warrantied work real accountability behind every system.
Serving Olathe, Overland Park, and Johnson County
MW Lawn & Landscape designs, installs, and maintains lawn irrigation and drip systems across Olathe, Overland Park, and the surrounding Johnson County communities. Whether you’re weighing DIY or want it handled start to finish, we’ll walk your property, check your water pressure, and design a system that waters evenly and efficiently for years the way we have for local homeowners since 2000.
Frequently Asked Questions
Can I install my own irrigation system?
Yes, if you have a small, relatively flat yard, you’re handy with tools and plumbing, and you’re willing to hire a licensed plumber for the backflow connection (required by code). DIY can save roughly $50 to $100 per zone in labor. The biggest risks are poor zone design causing dry spots, an inefficient layout that wastes water, and skipping the permit or backflow. For larger or pressure-limited yards, professional design usually pays for itself.
How hard is it to install a sprinkler system?
Moderately hard, and the difficulty is uneven. The system and zone design is the hard part it’s a hydraulic calculation, not a guess, and getting it wrong causes dry spots. Trenching is physically brutal, especially in Kansas clay. The water tap and backflow generally require a licensed plumber. Wiring the controller is the easiest part. A small simple yard is DIY-able; a large or complex one leans professional.
Do I need a permit to install an irrigation system?
In most Kansas jurisdictions, yes a permit is required for a new in-ground irrigation system, and you must have underground utilities located by calling 811 before digging. Skipping the permit can lead to fines, a failed inspection, or problems during a future home sale. A professional installer typically handles the permit for you.
Do I have to use a plumber for the backflow?
Generally yes. The connection to your main water line and the backflow preventer are tightly regulated because they protect your drinking water, and the tap usually must be made by a licensed plumber by code. Even homeowners who DIY the rest of the system typically hire out this step.
How long does it take to install an irrigation system?
A professional crew usually installs a typical quarter-acre system in one to three days. A DIY installation takes considerably longer often several weekends because of the design work, trenching by hand or rented machine, and the learning curve. Clay soil and larger yards add time either way.
Is DIY irrigation cheaper than hiring a pro?
It can be, mainly on labor roughly $50 to $100 per zone. But the savings shrink once you count trencher rental, your time, and the risk of design mistakes that waste water or leave dry spots. Fixing a buried error often costs more than professional installation would have. Drip systems for beds are the exception those are genuinely cheap and easy to DIY.
Can I install a drip irrigation system myself?
Yes drip irrigation for garden beds, borders, and vegetable gardens is very DIY-friendly. Drip kits run on low pressure, connect to an outdoor spigot without a main-line tap or plumber, and use simple push-together tubing and emitters. It’s the full pressurized in-ground lawn system, with its backflow and multi-zone design, that pushes most people toward a professional.
What’s the most common mistake in DIY irrigation?
Poor zone design and head spacing. If a zone has too many heads for your water pressure, nothing sprays properly; if heads are spaced wrong, their patterns don’t overlap and you get dry rings and brown spots. Because the fix means reworking buried pipe, this is the mistake that most often turns a DIY project into a professional rescue.
Does an irrigation system need yearly maintenance?
Yes. In Kansas, winterization before the first hard freeze is essential trapped water can freeze and crack the system and a proper spring startup re-pressurizes the lines and catches winter damage. In Olathe and most of the WaterOne area, annual backflow testing is currently required for commercial properties rather than residential, but keeping the device working is always wise.